
AI Video Is Wild, But Inconsistent—Here’s a Simple Fix
You’ve seen the viral AI videos. Maybe even tried making one yourself. At first, they’re magic. Then… your lead character swaps voices mid-sentence, grows five inches, and loses their glasses between shots. Oops.
Here’s the hard truth: AI video is jaw-dropping—but right now, it’s got amnesia.
That doesn’t mean you have to settle for a Franken-clip. In this post, you’ll learn a clean 4-step workflow to generate short, cinematic AI videos with the same look, voice, and vibe from start to finish. You don’t need a PhD in VFX. Just four tools, a few prompts, and some smart stitching. Let’s go.

Why AI Video Still Can’t “Remember”
Text models like ChatGPT have story memory on lock. Tell it you’re writing Scene 2, and it’ll recall everything you said in Scene 1.
Not so with video. These generation models work frame-to-frame. That means the same exact prompt today might give you Winged Sonic… and three seconds later, Bald Sonic with a goatee.
Until models evolve memory, your best bet is old-school: lock in visual references and build around them.

The 4-Step Workflow to Keep Characters Consistent
You’ll use just four tools:
- ImageFX (free) or Midjourney (paid) – for character + scene stills
- Pika Labs – to animate stills into short clips
- ElevenLabs – consistent voiceovers
- Video editor of your choice – CapCut, Premiere, Final Cut, etc.
Let’s break it down.
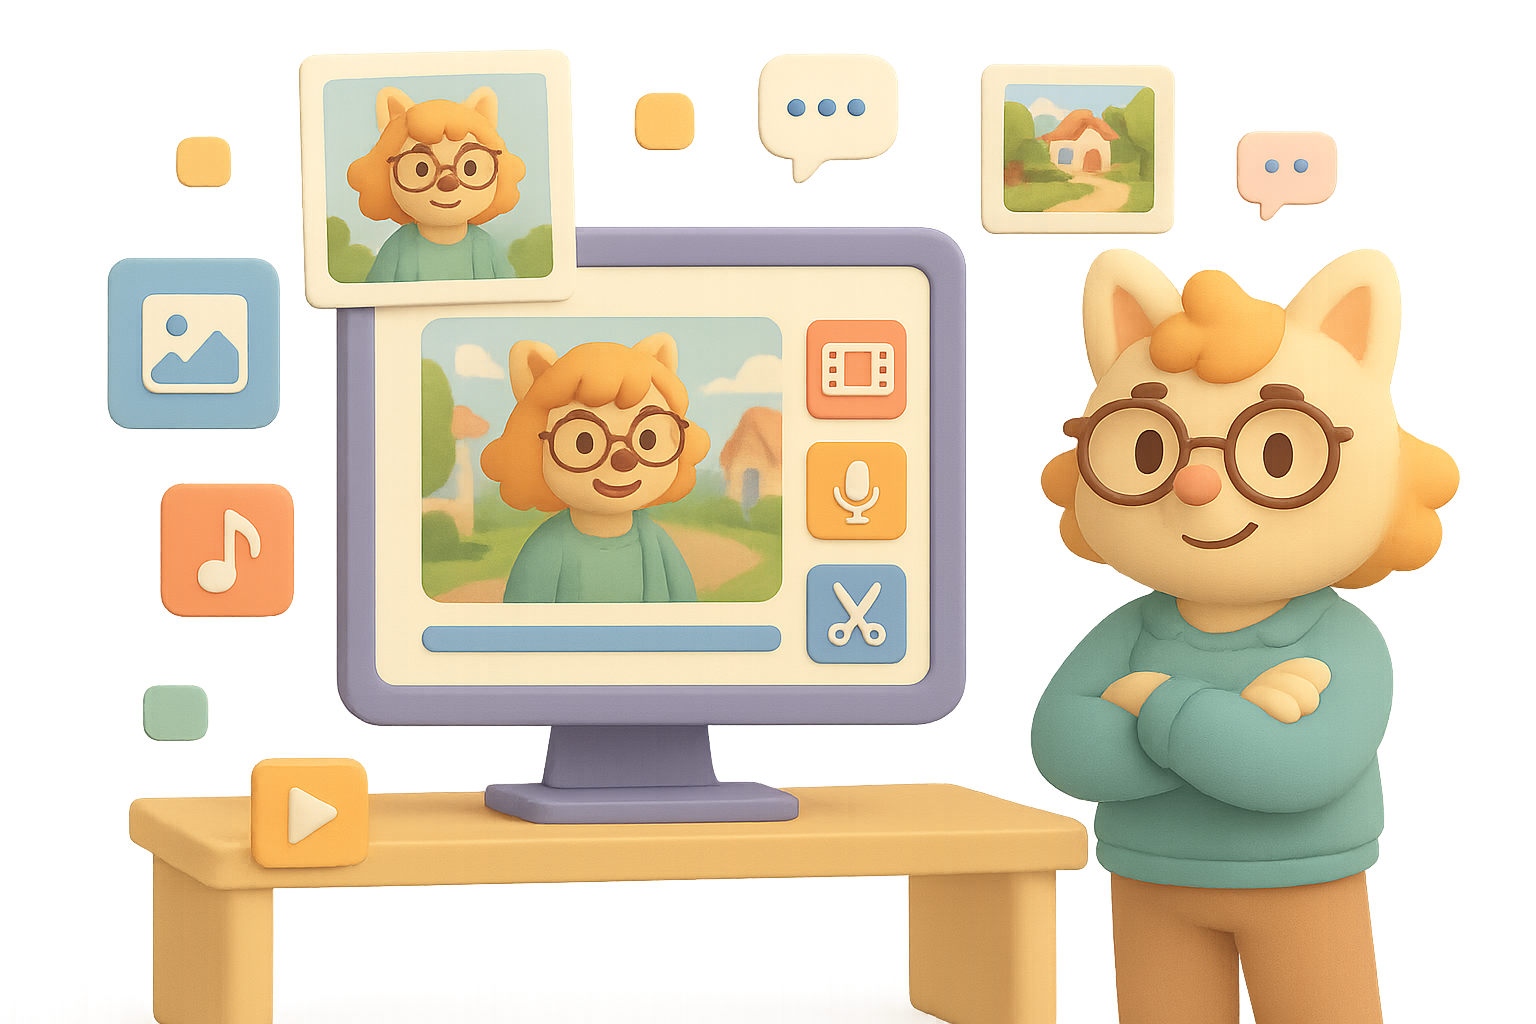
Step 1 — Nail the “Hero” Image
This becomes your anchor. Every scene builds off this base.
- Open ImageFX.
- Plug in a specific prompt. Example: Friendly plush mascot inspired by Gemini logo, pastel fur, standing, studio lighting, full-front view.
- Turn Reference Mode: OFF. You want max creativity at this stage.
- Generate options. Pick one that pops.
- Want small tweaks? Click Refine, turn Reference Mode: ON, and ask for fixes (e.g. “add glasses”).
- Save the final image.
Why it matters: Starting strong gives you a consistent reference that makes later scenes painless.
Step 2 — Frame Each Scene Like a Director
Now you’ll create one crisp still per scene. Think of these as the storyboards for your animation.
- Stay in ImageFX.
- Upload your hero image under Subject Reference.
- Turn on Reference Mode. This forces character consistency.
- Prompt each scene—e.g. Gemini mascot chatting with office worker in modern tech office, cinematic lighting.
- Download your favorite per scene.
Pro Tip: Accidentally turn off reference mode, and your mascot might morph. Keep it locked.
Step 3 — Animate in Pika Labs
Take your stills and bring them to life—3 to 8 seconds at a time.
- Upload your first scene image.
- Paste a dynamic shot prompt, like: Camera slowly pulls back; mascot raises paw and says, “Can I find that email from yesterday?”
- Use these settings:
- Aspect: 16:9
- 4 outputs per prompt = better odds
- Watch for weird motion (janky mouths, rogue limbs). Pick the best.
- Repeat per scene.
Prompt not hitting? Let ChatGPT or Gemini write a Pika-friendly version. Feed it your still + a few action bullets and ask for help.
Step 4 — Lock the Voice
Pika’s audio can shift between clips. ElevenLabs keeps your mascot’s voice solid.
- Upload each Pika video to Voice Changer at ElevenLabs.
- Select one voice (e.g. “Malvorex – Monster”).
- Generate the audio.
- In your editor:
- Detach Pika’s track.
- Drop in the ElevenLabs voice only for mascot lines.
- Add ambient audio or music for vibe.
Result: A single, consistent character that feels like it was shot in one take.

Can’t I Just Use One Tool to Do It All?
Good question. Some “studio in a box” solutions like Colossyan, Synthesia, or OpusClip promise end-to-end AI videos. And for presentations or avatar explainer videos, they’re great.
But if you want action, multiple characters, unusual styles (hello, fuzzy mascot on a battlefield?)—those suites still fall short.
Today, the power move is stacking the right tools. Think of it like Avengers mode: each tool does its specialty, and you control the final cut.

A Peek at What’s Breeding in the Labs
OpenAI’s teased some juicy features:
- Cameo: keeps a real face stable across clips.
- ReCut: lets Clip B know how Clip A ended for smoother transitions.
Cool, right? But they don’t eliminate the real work:
- Designing your character
- Prompting like a screenwriter
- Stitching audio + video until it clicks
These are new Lego pieces—not the whole castle.
Recap: Your Cheat Sheet for Consistency
- AI video = powerful, but still forgetful.
- Use one hero image to carry your character across scenes.
- Build each shot intentionally. There’s no “fix it in post” when the character’s face shape changes.
- Mix & match smart tools. No one tool rules them all—yet.
Take the time to plan your visuals and prep your audio, and you’ll avoid the uncanny valley and land something seriously shareable.
Want hands-on help learning these tools?
Tixu.ai is a beginner-friendly platform that teaches you AI creation from the ground up—no tech degree required. Dive in, learn fast, and bring your wildest ideas to life.
Leave a Reply