
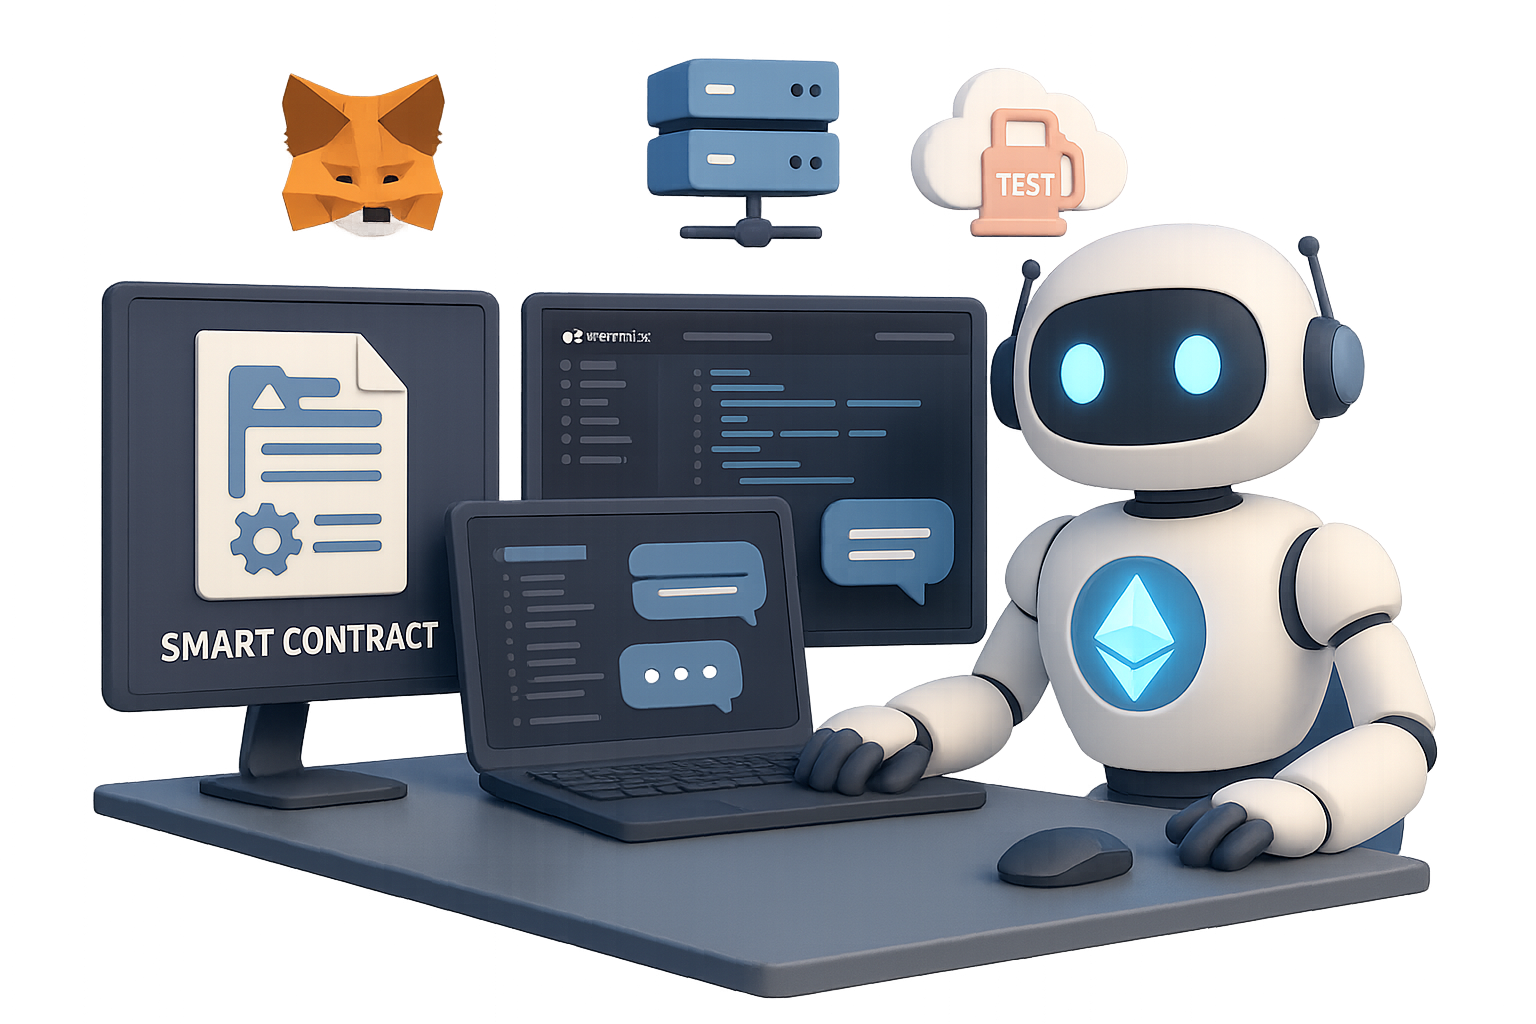
Build an On-Chain Bot (Without Burning Out): How AI Helps You Ship Smart Contracts Faster
Deploying your first smart-contract bot shouldn’t feel like deciphering ancient runes. But let’s be real—it usually does.
You tweak some Solidity, push to Remix, hit a wall of compiler errors, and wonder if this “automation” thing is really worth it.
Here’s the twist: AI can take the grunt work off your plate. With the right prompt and setup, you can launch a smart bot in one afternoon—safely and seamlessly.
In this guide, you’ll learn exactly how to:
- Prompt AI tools for gas-efficient, secure code
- Set up your wallet and contract workspace fast
- Deploy a cloud-connected smart-contract bot
- Launch, monitor, and pause it without breaking a sweat
Let’s flip the script on manual development.

Step 1: Nail the Prompt, Get Clean Code
The difference between AI magic and AI mayhem? A well-structured prompt.
Here’s what I fed ChatGPT:
Write a secure, gas-efficient Solidity smart contract that:
• Integrates only with public, well-audited DeFi APIs
• Exposes two external functions: start() and stop()
• Emits detailed logs for every on-chain action
• Is compatible with Solidity ^0.8.20
Boom—readable, functional code showed up with clear comments and test cases. The compiler? Happy. My face? Smiling.
If your scope is tight (less than ~150 lines), ask ChatGPT to generate unit tests in the same request. Catch issues before they cost gas.

Step 2: Prep Your Dev Toolkit
You don’t need a MacBook Pro, five monitors, or a Web3 wizard staff. Just three things:
- Remix IDE – for writing/deploying contracts in-browser
- MetaMask – handles wallet auth + transaction signing
- ChatGPT – for code scaffolding and debugging help
Before you paste code:
- Confirm MetaMask is unlocked and on the correct network (testnet, please).
- In Remix, create a new
.solfile and paste your code. - Match the Solidity version at the top with Remix’s selected compiler.
- Tick “Auto Compile.” You’ll thank yourself later.
See that green check? You’re good to go.

Step 3: Deploy, Connect, Launch to Cloud
Time to move from “looks good” to “live on-chain.”
Here’s your mini-launch checklist:
- In Remix, navigate to Deploy & Run Transactions.
- Choose “Injected Web3” (your wallet).
- Deploy the contract, approve the MetaMask popup.
- Copy the contract address (you’ll need it in a sec).
Next, open your serverless host of choice—AWS Lambda, Google Cloud Functions, or any always-on alternative.
Upload your interaction script from ChatGPT. Drop in the contract address. Flip the auto-warm switch so the function doesn’t nap on you.
And that’s your bot’s home base.

Step 4: Fuel It, Start It, Monitor It
Bots don’t run on vibes—they need gas.
Send a small amount of ETH (or native testnet token) to your contract address. Wait for confirmation.
Then follow the launch sequence:
- Call
start()via Remix. - Check the on-chain logs for your custom events.
- Let it run. Log output, watch behavior.
- Call
stop()to halt operations gracefully.
When I tested mine, every action was documented—no guesswork. AI didn’t miss a step, and the script ran cleanly for several hours.
But note: network conditions change fast. Early runs are for learning, not yield-hunting.

Common Snags (And Fast Fixes)
⚠️ Something not working? Start here:
- Code not compiling? Check pragma and Remix compiler settings.
- Deployed but no functions? Recheck you’re using the latest compiled version.
- UI disconnects? Restart MetaMask—browser sessions expire often.

Recap: What You’re Walking Away With
Let’s land this bird.
- A smart bot live on-testnet in under a day
- Clean Solidity code written with AI help
- A repeatable setup for future contracts (copy-paste-fix-repeat)
AI doesn’t replace experienced devs—it turns a solo builder into a leaner team. Use it right, and you’ll ship more in less time, with fewer headaches.
Want to level up even faster? Learn by doing inside Tixu.ai—a beginner-friendly AI platform made just for builders like you.
Ready when you are.

Leave a Reply